Showing posts with label recipe. Show all posts

Friday, April 4, 2014

Fresh Homemade Pico De Gallo


Nothing is better than fresh homemade pico. 
It is so versatile and delicious and guaranteed to put a smile on your face. 

Ingredients;
- Tomatoes
- Red Onion
- Cilantro 
- Lime Juice
- Salt & Pepper


I chopped up half an onion, half of a tomato, a few sprigs of cilantro and half of a lime worth of juice.
Throw it in a bowl add salt and pepper to taste and give it a good stir. 
Use pico on tacos, salads, quesadillas, burritos or eat it with chips!
Delicious!

*I recommend using pico de gallo within 4-5 hours*


Monday, March 31, 2014

Homemade Taco Salad


I love taco salad. 
If it is on the menu when we go out to a restaurant you bet I am ordering it. 
I knew there had to be a way to make a yummy taco salad at home that did not have the high price tag of a restaurant salad. 

 
Ingredients;
~ Taco Ground Beef
~ Romaine Lettuce
~ Iceberg Lettuce 
~ Pico De Gallo
~ Sour cream 

Other Reccomendations;
~ Cheese
~ Corn 
~ Blackbeans
~ Olives
~ Avocado 
 
What I did; 
Use tortillas and place in mold and pop into oven to make taco bowls. 
Cook ground beef and season with taco seasoning.
Cut up lettuces and combine in large bowl. 
Make pico de gallo. 
 
When shells are ready, place lettuce, beef, pico, and sour cream into bowl. 
Serve and enjoy! 
Easy, delicious, and healthy!


* I found my taco bowl molds in a 4 pack at our local dollar store. It is a 'seen on TV' product. I have also seen them at Walmart! *


Thursday, March 27, 2014

Crockpot Pulled Pork Sandwiches!


It may technically be spring, but it sure doesn't feel like it! 
I had purchased a pork roast on sale without a specific idea in mind for it. 
I wanted something simple, easy, and delicious. 
I decided to use my crock pot to make pulled pork for sandwiches. 
Best. Idea. Ever.

Ingredients; 
- Pork Roast (any size - just make sure it fits in your crock pot!)
- White onion 
- Water
- Favorite BBQ sauce 
- Buns 

*make sure your pork roast is completely thawed, if previously frozen before putting it in the crock pot*

Start by slicing your onion. 
Place half of the sliced onion in the bottom of your crock pot. 
Cover the onions with just enough water to cover the bottom of the pot. 
Place Pork roast on top of onions. 
Salt and pepper to taste. 
Place remaining onions on top of roast. 
Place lid on crock pot and turn on. 

Low - 5-6 hours 
high - 3-4 hours 

Remember to flip your roast half way through the cooking time. 


When cooking time is finished, use two forks to shred the meat into strips. Completely shred whole roast. 
Add BBQ sauce (enough to cover the meat and make it good a saucy!)
Stir to combine meat, sauce and onions.

Serve on fresh baked buns with sides

finished product. yummy!

Friday, March 14, 2014

Applesauce!


I recently purchased a 4lb bag of apples from my local grocery store. They were regularly $4.99 but were reduced 50% because some of them were a little soft and bruised. 
These apples were perfect for applesauce!


All You Need; 
- Crockpot 
- Apples (peeled, cored, & diced)
- 1 tbl of cinnamon 
- 2 tbl of brown sugar 
- 1/2 cup of water 
 

Peel, core, and dice all your apples to approximately the same size. 
Place all apples into your crock pot and pour half a cup of water on top. 
Sprinkle cinnamon and brown sugar on top of apples and stir to combine. 
Cook on high for 3 hours or low for 5-6 hours stirring occasionally. 
I highly recommend leaving the applesauce on your counter to cool some before placing into fridge safe containers. 
 
Enjoy!


Saturday, February 22, 2014

Sugar Free Diabetic Cookies


We have a friend who has recently been hospitalized. 
He also has cystic fibrosis and is a complete fighter. 
His also has cystic fibrosis relate diabetes.
We decided to visit him and bring him a treat that wouldn't put him in a sugar coma. 

Ingredients; 
  • 1 1/4 cup of flour 
  • 1 tsp of baking soda 
  • 1/4 tsp of salt 
  • 2/3 cu of cocoa
  • 1/2 cup of brown sugar substitute
  • 1/2 cup of sugar substitute 
  • 1/2 cup of butter
  • 1/2 cup of milk
  • 2 eggs 
  • 1 1/2 tsp of vanilla extract 
  • 1/4 cup of icing sugar

Whisk together dry ingredients (excluding sugar substitute) and set aside. 
Cream together white sugar substitute with butter until fluffy. 
Add one egg at a time until well combined. 
Add vanilla. 
Add dry ingredients slowly until completely combined (will be very thick).
Now add milk and combine. 
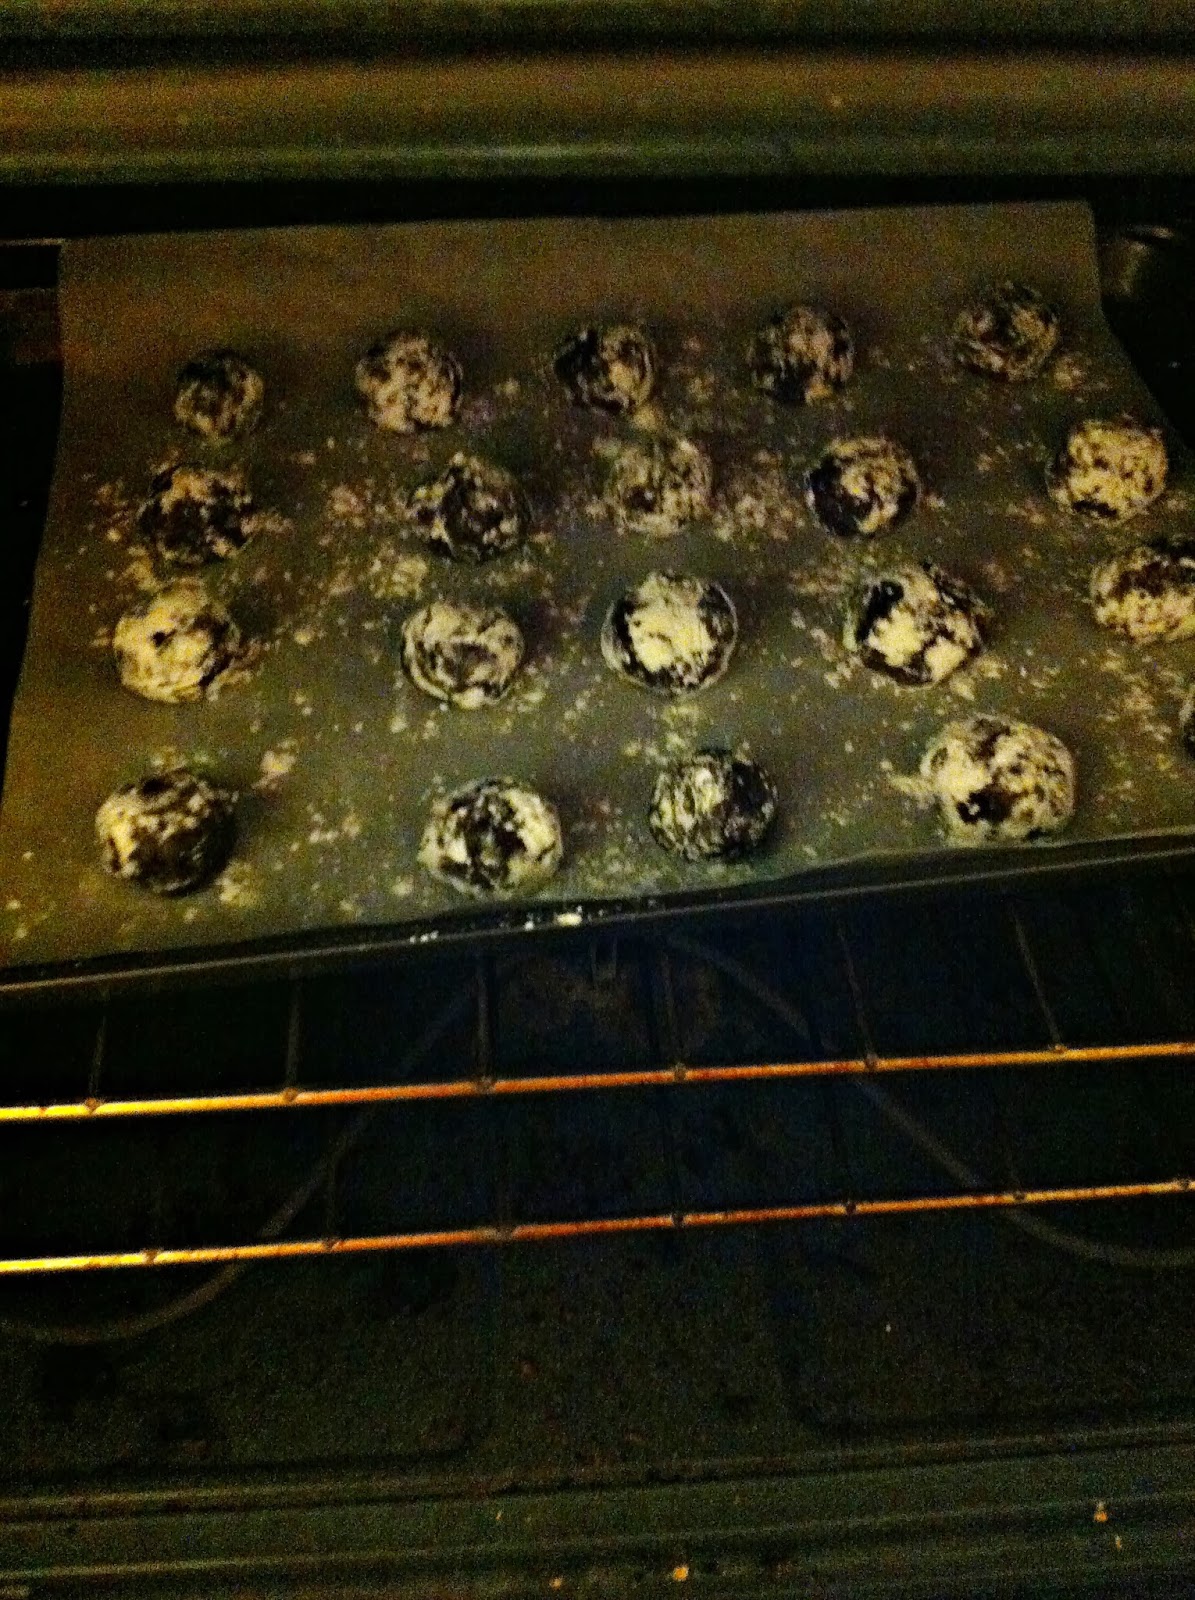
Place icing sugar in seperate bowl.
Form little balls with the dough and roll in icing sugar until completely coated.
Place on baking sheet lined with parchment paper.
bake at 350 degrees for 10 minutes.
Allow to completely cool before trying.
Store in an airtight container.


Friday, February 21, 2014

Parmesan Asparagus


This is one of or all time favorite side dishes! 
We make it so often its ridiculous!


All You Need;
Asparagus 
Olive Oil 
Salt & Pepper
Parmesan Cheese 


Place asparagus (fresh or frozen) in a sauce pan with 2tbl olive oil and 1tbl of water. 
Saute on medium heat until soft. 


Push asparagus to one side of the pan and sprinkle a generous tablespoon of parmesan cheese on top. 
Stir to combine. 
Serve with favorite meal! 


Wednesday, February 19, 2014

Homemade Cheesy Scallop Potatoes


I love me some scallop potatoes. 
I'm usually a cheater and will buy the boxed kind, or if I am feeling extra cheater-y I will buy the frozen kind.
I know, I know. 
But, I wanted to try to make my own scallop potatoes. 
I've wanted to do it for awhile now and I finally decided to do it the other day. 
I also discovered something. 
All the ingredients to make the potatoes were cheaper than the boxed ones, and a lot cheaper than the frozen kind. 

I estimate for this recipe its about $3-$4 depending on where you purchase your ingredients.

Ingredients;
3 - 4 Russet Potatoes (washed and sliced very thin)
2 tbl of butter 
2 tbl of flour
1 1/2 cups of milk
1 1/2 cups of grated cheddar cheese 
salt and pepper to taste

Cheese Sauce
In a small sauce pan, melt butter and mix in flour. 
Stir until completely incorporated. 
Add milk and whisk. 
Add salt and pepper to taste. 
Bring to a boil stirring occasionally. 
Stir in cheese until melted and smooth. 


In the bottom of a casserole dish, make a layer of potatoes that completely covers the bottom. 
Add half the cheese to cover the potatoes. 
Add another layer of potatoes to cover the cheese sauce. 
Add remaining of cheese sauce. 
Bake at 350 degrees for 1 hour until golden brown and bubbly. 

Finished Product. Yum-o.

Sunday, February 9, 2014

My Birthday Cake 2014


Every year (mostly), I make my own birthday cake. 
I really don't mind doing it because I loooove to bake. 
It all started a few weeks ago. 
My sister mentioned to my three year old nephew that my birthday was coming up. 
He told her that he wanted to back me a chocolate strawberry cake because it was his favorite. 
He is just the cutest little guy. 
I decided to invite him over to help me make the cake the day before my birthday. 
It was adorable, and he actually helped a lot more then I thought he would!
This year I am doing something a little different in terms of ingredients. 
I didn't have the time to bake a whole cake from scratch with everything else we have going on right now, especially with an impatient little helper.
So I decided to purchase a box cake and premade icing. 
I know, I know. 
But I wasn't going to just make a cake and slop some icing on it. 
I'm going to revamp the boxed cake!
What you need; 
~ Chocolate Cake Mix (I opted for gluten free as some family members attending are not eating gluten)
~ White Icing 
~ 1 packages of strawberries
~ 3 Eggs & 1 cup of water (for cake)
 
Simple right?  

Step#1; Mix chocolate cake mix according to directions on the box and bake for appropriate amount of time. I baked my cake in two round pans for easy stacking. After they have finished backing, set to the side to let cool completely. 
Step#2; While cake is baking wash and haul all strawberries. I sliced mine and tried to get them to all be the same thickness (tried being the key word here!). Set aside in fridge.
Step#3; Scrap icing into kitchen aid mixer bowl completely. Using the whisk attachment whip the icing until it doubles in size. Cover with saran and place in fridge. 
Step#4; Once cake is completely cooled, pick the cake you would like for the bottom layer and place on a flat sturdy surface to hold cake. Gently cut top of cake to make it as completely flat as possible. Dont worry if its not perfect, mine wasn't! 
Step#5; Then generously add vanilla icing and carefully spread evenly on cake. Next add a fully layer of your sliced strawberries. 
Step#6; After that I sliced the next cake as evenly as I could and carefully placed on top of the other cake.  
Step#7; Repeat step #5 using the remaining icing and strawberries. I added an extra glob of icing to the top of out cake just for fun!