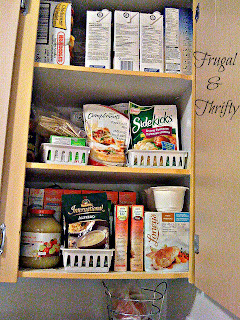
I don't know about your pantry cupboards, but I am frequently finding that my baking supplies tend to take over the whole place. I would go into the cupboard looking for something specific for a recipe and end up thinking we had ran out of it and double buying it, simply because I did not have a good organizational system. I had a set of four canisters that I kept on the counter already that held flour, white sugar, brown sugar, and baking soda, but I wanted a different look. I wanted to be able to display all of my commonly used baking supplies so they would be at my finger tips when ever I needed them.
I decided that as a Christmas present to myself, I was going to revamp my baking supplies by adding some canisters!
The first part of this project required me to find good quality, affordable canisters. I have seen ones I like in big name designer stores where each canister can cost up to $15.00. This would be completely unacceptable considering how many I planned on purchasing.
After a couple trips to various discount stores and dollar stores I found ones that were extremely affordable and would match the decor of my kitchen since I decided to display them. I found glass canisters with stainless steel lids in various sizes that would work perfectly for this project. I purchased 6 large canisters and 2 small canisters to start.
Each large canister retailed for $2.00 each and each small canister retail for $1.50 each. This put me at a total of about $15.00.
What Did I Put In My Canisters?
- White Sugar
- Brown Sugar
- Cocoa Powder
- Icing Sugar
- Oatmeal
- Flour
- Baking Soda
- Baking Powder
After a long process of removing the packaging, washing, drying and placing everything in the canisters, I placed them on top of my pantry cupboard. I wasn't completely satisfied.
 |
| Something is missing here ... |
|
|
|
|
|
I decided that I wanted to purchase labels for these babies, but I didn't want them to be permanent. After searching out some of my options I found that the Martha Stewart line at Staples carried labels that were chalkboard stickers. I was immediately intrigued. I went to Staples the next day and purchased those labels right away. They retailed for $6.00 for a 12 pack (only $0.50 each), but I only used 8 leaving me with 4 for another project! The best part of the labels is that I can wipe the chalk off and rewrite on the label if I happen to change what is in the canister. Very thrifty if you ask me!
Here is the final product:
 |
| Much better! |
|
|
|
I am extremely happy with the final outcome.
Money Spent:
Large Canisters $2.00 x 6 = $12.00
Small Canisters $1.50 x 2 = $3.00
Labels $0.50 each x 8 = $4.00
Giving us a grand total of $19.00!
~*~
The Question You May Be Asking Yourself Now, What Did She Do With the Old Canisters?
I reused them of course!
Large Canister; Spaghetti
Medium Canister; Penne Pasta
Medium-Small Canisters; White Rice
Small Canister; Bread Crumbs


